Hi!
Hope you are having a great and happy day! In this post, I'm sharing with you a layout I made for my daughter who is a very active kid and loves to play with her dad. That day, we went to Castillo Labadie in Moca to photoshoot our daughters because the place is gorgeous, with lots of green areas.
While walking around and finding spots, she jumped with her father onto a tree trunk that was cut. I had the camera ready because I knew she would jump onto her dad without warning him, but don't worry he caught her because he knew she would do that. I love this photo because it captures how safe she feels, that she can trust him and that he will be there to catch her, and this is what this layout is about. Stay with me during this post to see close up photos of the layout and learn how I made it.

Most of the products used in this layout are from Pinkfresh Studio. I mixed papers and embellishments from Some Days and Let's Stay Home collections. I used these collections because I wanted to create a layout with masculine colors since my husband is the main character of this layout, but also to be able to add feminine touches since my daughter is also an important part of the story.
For the background, I used a thin blue striped paper, then reduced it to 10 1/2" x 10 1/2" and matted it on a red tone cardstock to separate this paper from the other blue and white paper that has designs that look like petals. Since this last paper will be covered by the other, I cut a frame out of it to be able to use the interior part later in another project.
Usually in my projects I want to showcase the photo, and this layout was no exception. For this reason I printed it 4" x 6" with a white border, then matted it in a light pink and yellow paper to help it stand out from the background and be the focus of the layout. Also, I added a label on the right side with the day and used staples for a metal touch. Now that the photo was ready, I selected a piece of blue paper with words and added it to the left of the layout, to give the photo a place to anchor and create balance for the embellishments.
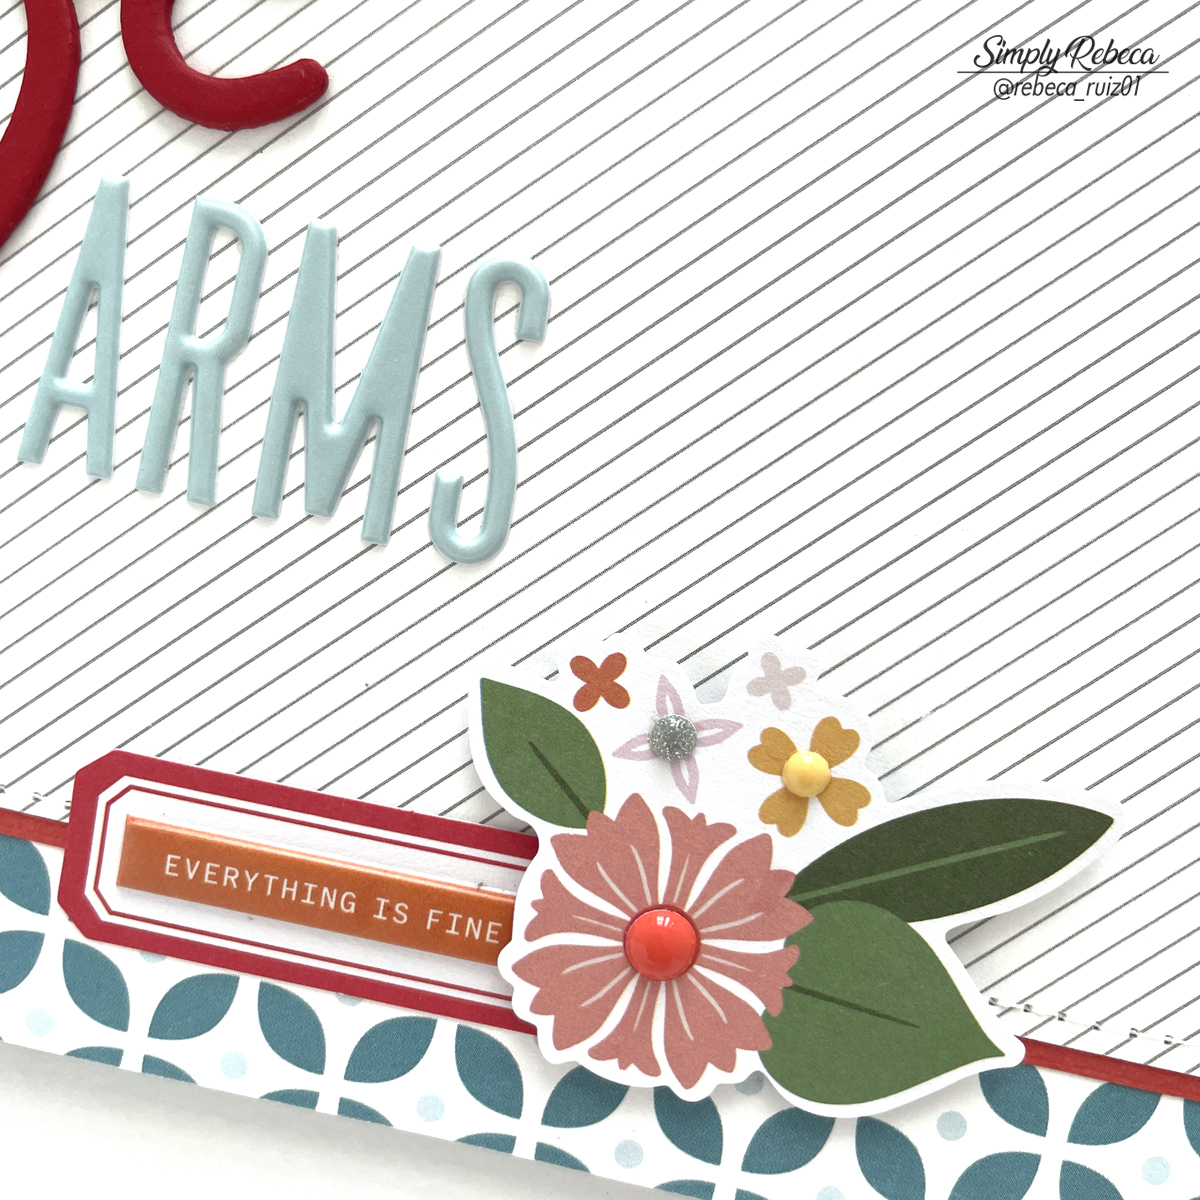
To create the title I mixed different products, this will give the page more interest and texture. The word "Safe" was made using naked chipboards from Basic Gray. These are really old but I still have a few packs of this and other of their fonts and I really like them because the font styles are beautiful and I can color them with different mediums. This time, I used red acrylic paint. For the "in your" section I used stickers from Elle's Studio, and for "Arms" I used puffy alphas from Pinkfresh Studio.
Many of my projects have a delicate and elegant touch, this is my style. I enjoy having things look clean and organized. Because of that, I decided to print the text directly on a 3" x 4" card. On the left of the card, I added a word die cut and used mini staples for more texture and a nice touch.
Now is time for the fun part, embellishing the layout. I love using flowers, so I created three clusters using die cuts with foam tape, then added enamel dots on top. The die cuts are very old, from My Mind's Eye. In the top cluster, I added a red puffy sticker with a heart to enhance that color and balance the layout.
In the lower cluster, I added a red label and on top of it a chipboard phrase. Then, to continue with the florals, I added a small die cut and enamel dots.
For the middle cluster, next to the title, I used two floral die cuts. The big one was added with foam tape and the other had a mix of liquid glue in the steam and foam tape in the yellow flowers to create dimension and help them look more interesting and real.
This is all for this layout. It was a long post but I wanted to give you all the details since I didn't record the process for this. Sometimes, I scrapbook during the night and the lighting is not the best. Thank your for staying with me, I hope you like and enjoy this project as much as I do and it inspires you to craft.


No comments