Hi!
Hope you are having a wonderful day! After a few days away from the blog, I'm returning with an elegant layout I made for my youngest daughter featuring products from Pretty Little Studio. It is a simple, but pretty layout that you can recreate easily. Stay with me during this post to see close up photos and learn how I made it!
This is my first time working with Pretty Little Studio products and let me tell you, I love them. The papers are thick with a little gloss on them, making the colors look amazing. They also offer a great variety of embellishments: die cuts, stickers, cut outs, and more. For this layout, I used products from Grateful Heart, Frosty and Friends, and some extra freebies they sent with my order.
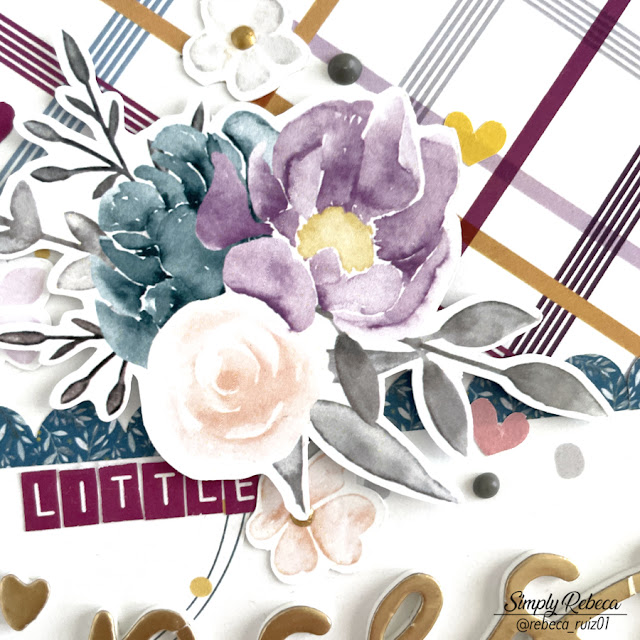
I started this layout by cutting the paper with the dots/plaid design. This is one sheet of paper with both designs on it, which means I didn't have to match the designs, just trim the paper a little and use it on top of the mixed media background paper. Then, to separate the designs, I used the scalloped stickers from Frosty and Friends. Those are short borders, but the pack comes with four of this design so I placed them side by side to make them look like a full strip of scallops, and it works perfectly.
On the top area of the plaid paper I added a tab where I stamped the date.
Then, I stitched around the border and added the three photos matted in a coordinating Bo Bunny cardstock I've had in my stash for a long time. I did this to help the photos stand out. For an extra detail, I added another piece of border sticker on the bottom of the photos, this time in yellow and with larger scallops.
For the title, I fuzzy cut a circle from a card they gave me. On top of it, I added the scalloped border and the letter stickers, which I reduced to fit them within the circle.
The word "princess" is from a Thickers. The journaling was printed in white cardstock and the font is Condensed Typewriter.


No comments