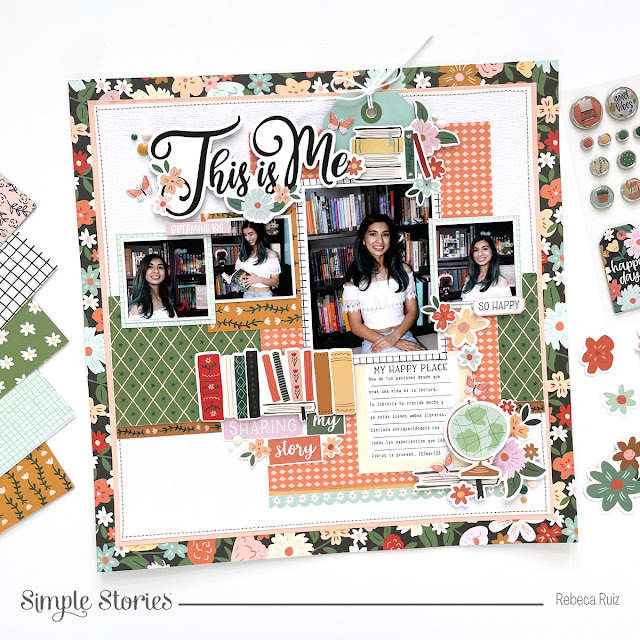
Hello friends! My daughters are both book lovers who enjoy reading, so when I saw the new Simple Stories My Story collection, I knew it would be perfect to document those stories of them. Today, I'm sharing my first layout using this collection. I made a layout for my eldest daughter and her bookshelves. I took the photos in her room and the light there is not the best for a photo session, but I fixed them as best as I could to share this story in a layout. If you want to know how I made this layout, stay with me during this post and don't miss the process video at the end.
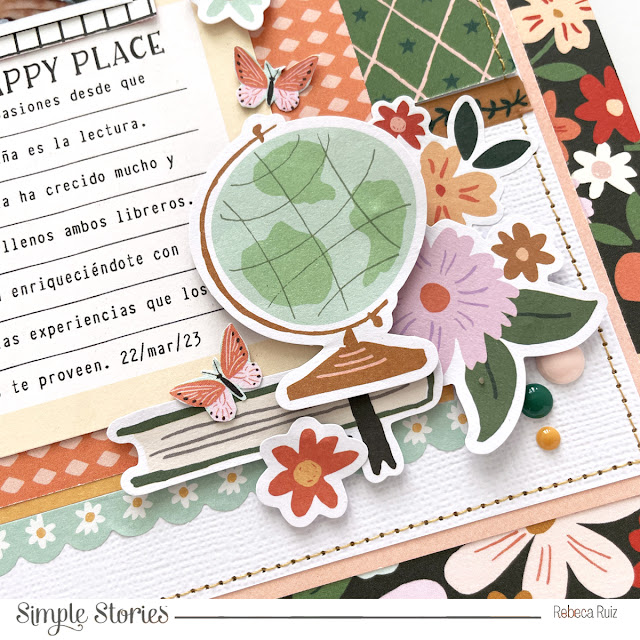
The colors of this collection are bright and bold and, since the photos are dark with a lot of black, I decided to use a white cardstock as my base. To make the background look more elegant, I matted the white cardstock with a Blush cardstock from Simple Stories, then with a floral paper from the My Story collection and finished with a stitched border around the white cardstock using a yellow/gold thread.I printed the journaling in a card cut from one of the papers in the collection. Then, I embellished it with a little cluster of stickers, die cuts, and enamel dots.
Under the orange paper, I added two stripes from the sticker book. One is a thin yellow line and the other is a light blue scalloped border. Then, I finished the layout with a few word stickers.
If you want to see how I made this layout, check the process video here:
Thanks for your visit, I really appreciate it! I hope you like and enjoy this layout as much as I do, and it inspires you to craft!


No comments