
Hi!
A few days ago I was checking some cut files I had already cut. I found this cute doll from Hero Arts that I purchased in the Silhouette store (#26023) and remembered that recently I photographed my daughter with a similar dress and look. It was a coincidence, but it was a great one. Since the doll is almost 11" tall and 6 1/2" wide the space left in the layout for the photo and embellishments was limited, which in this case helped me create this page quickly.


The photo is 3 1/2 x 5 1/2", I left a little of the white photo paper to create a border around it, then matted it with red and teal papers. The patterned papers and stickers used in this layout are from Echo Park Jack and Jill collection. This is an old collection from 2015, I bought it when it was released but this is the first time I've used it.

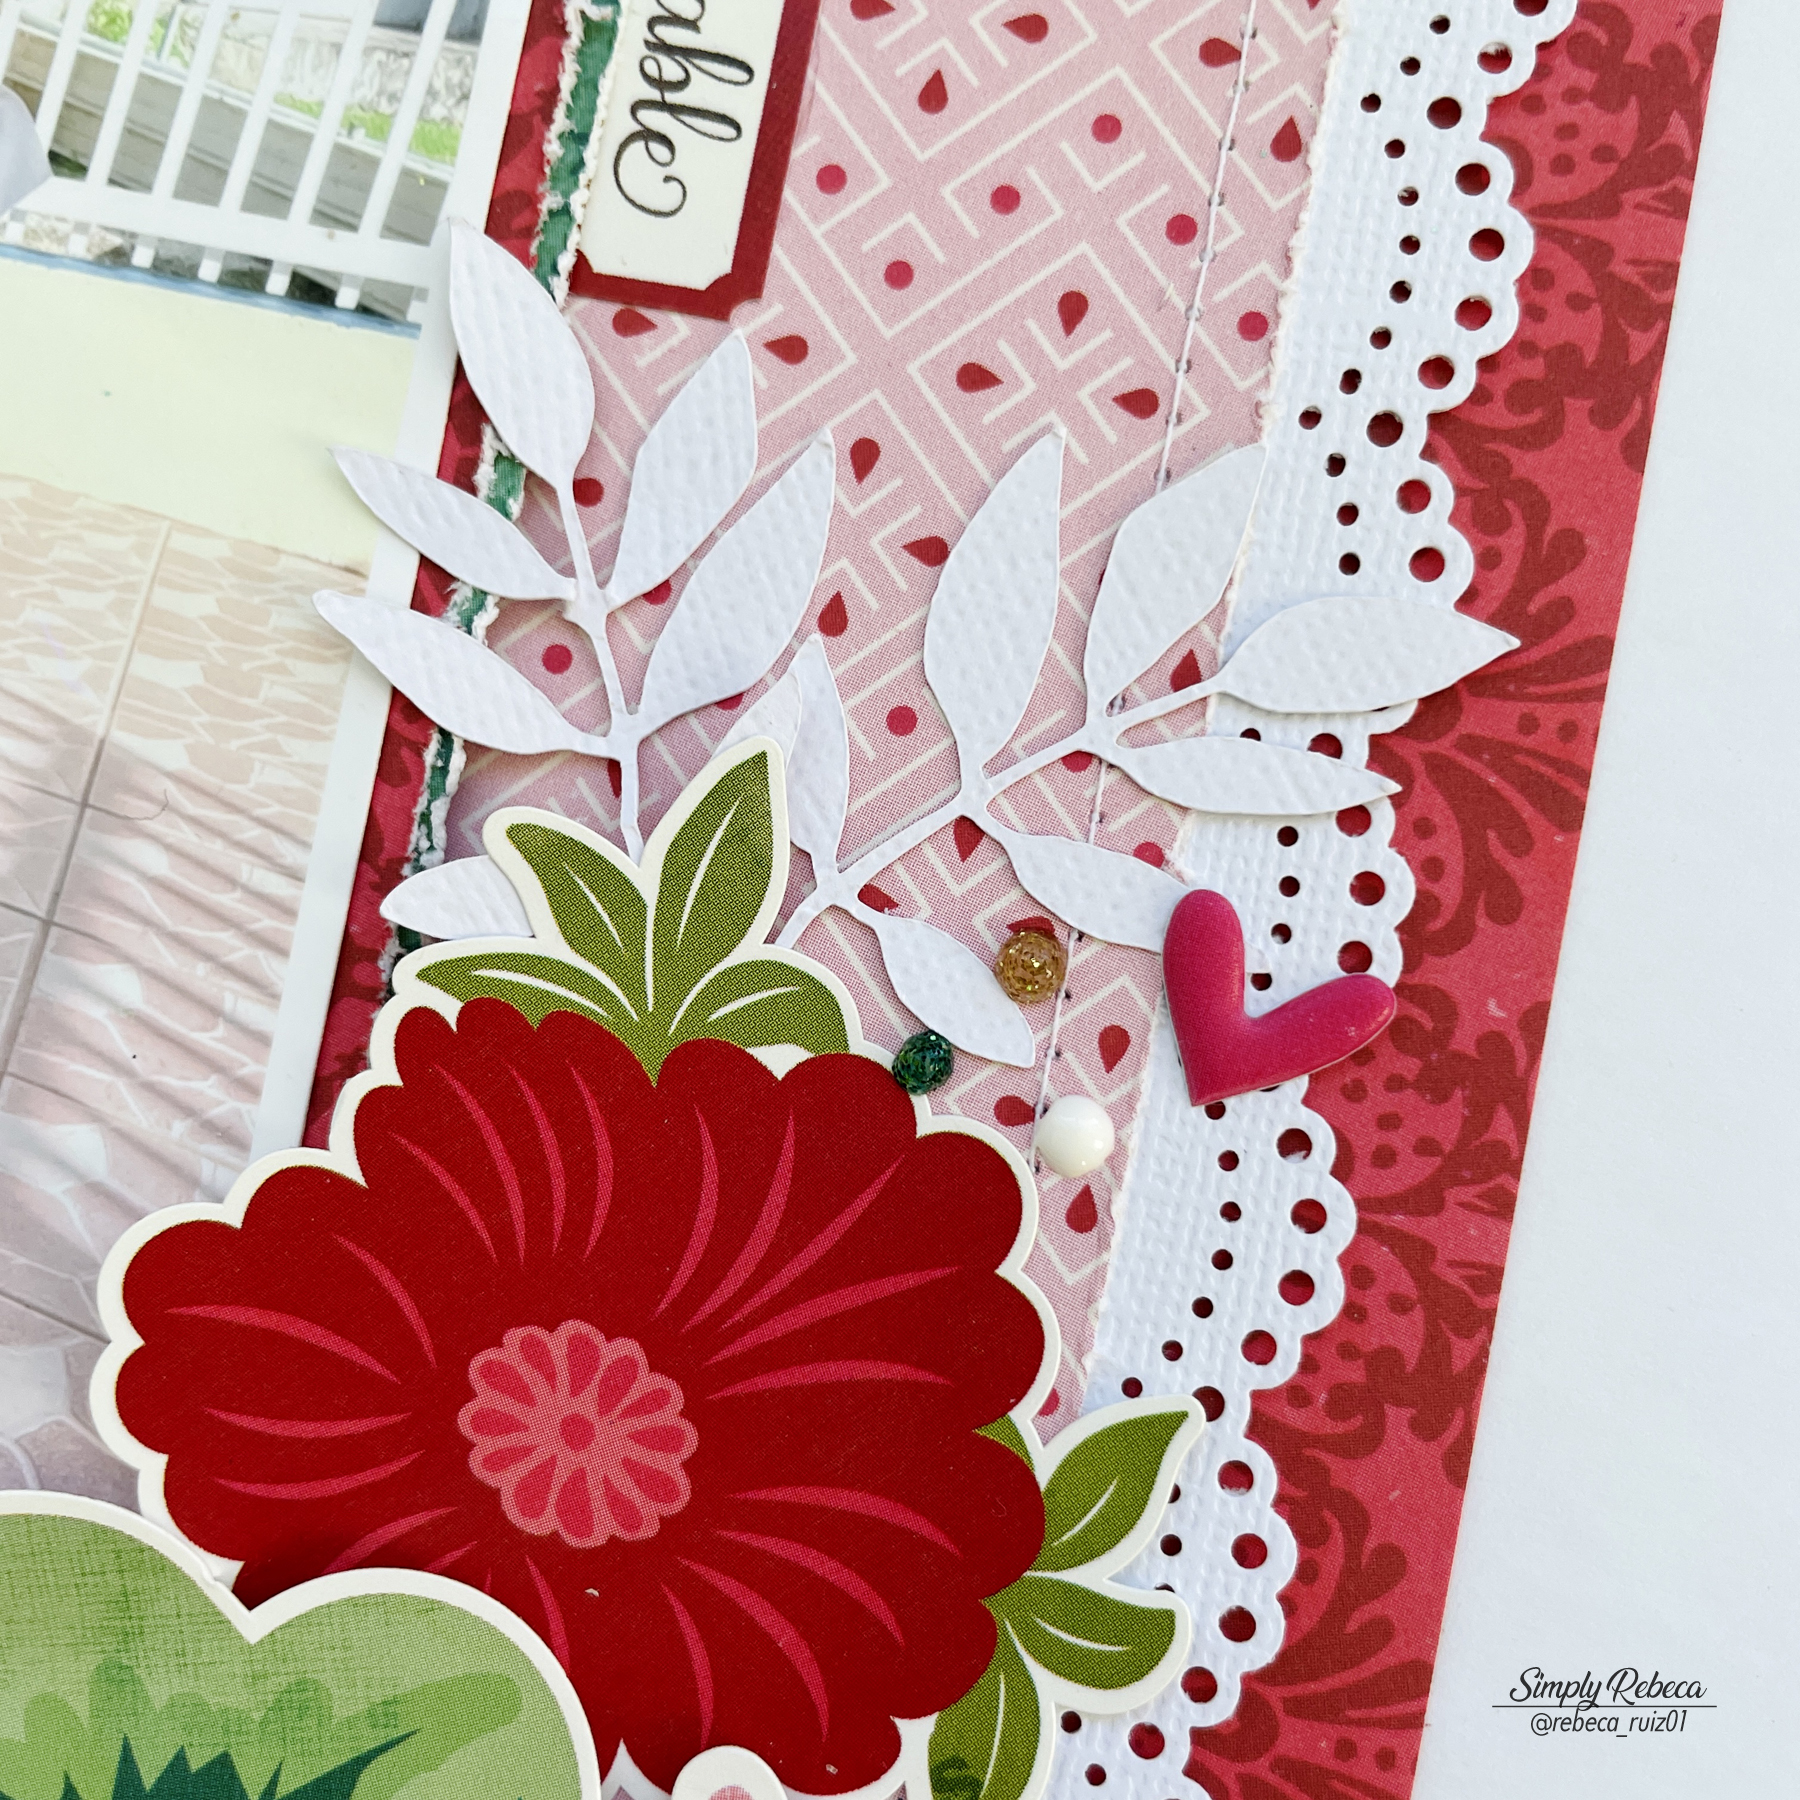
Thinking on ways to embellish this layout to maintain the delicate and elegant look of the dress, I got the idea of creating the doily lace edge border in white, using a Martha Stewart paper punch. This paper punch design is now made by We R Memory Keepers. I love using it in girly projects. After that, I decided to use a patterned paper to help the doll stand out and to change from the white cardstock that I often use.

With my old Memory Makers edge scrapper, I distressed the borders of the pink paper and the photo mats. This adds texture and interest to the layout. Now for the fun part, adding everything to the layout. I added the doll using foam adhesive, then added a glassine bag to the back of the photo to create a pocket for the journaling tag. I made the tag out of white cardstock, then added a piece of a wood paper from the collection and a red reinforcer. Then, I made a bow using white crochet thread.

For the title, I used Goldie Thickers from American Crafts and pink sticker letters from the collection. Then, I made a flower cluster in the corner using stickers from the collection, some with foam adhesive to create layers. I also added a few word stickers and white leaves that I had in my stash. I love using white leaves in my projects because they can be used as is or they can be painted. They are from the Silhouette store, I think they are an Echo Park file. Sometimes, when I cut a file in white cardstock and I have some areas that would be scraps, I fill them with the leaves of different sizes and have them ready in my stash.

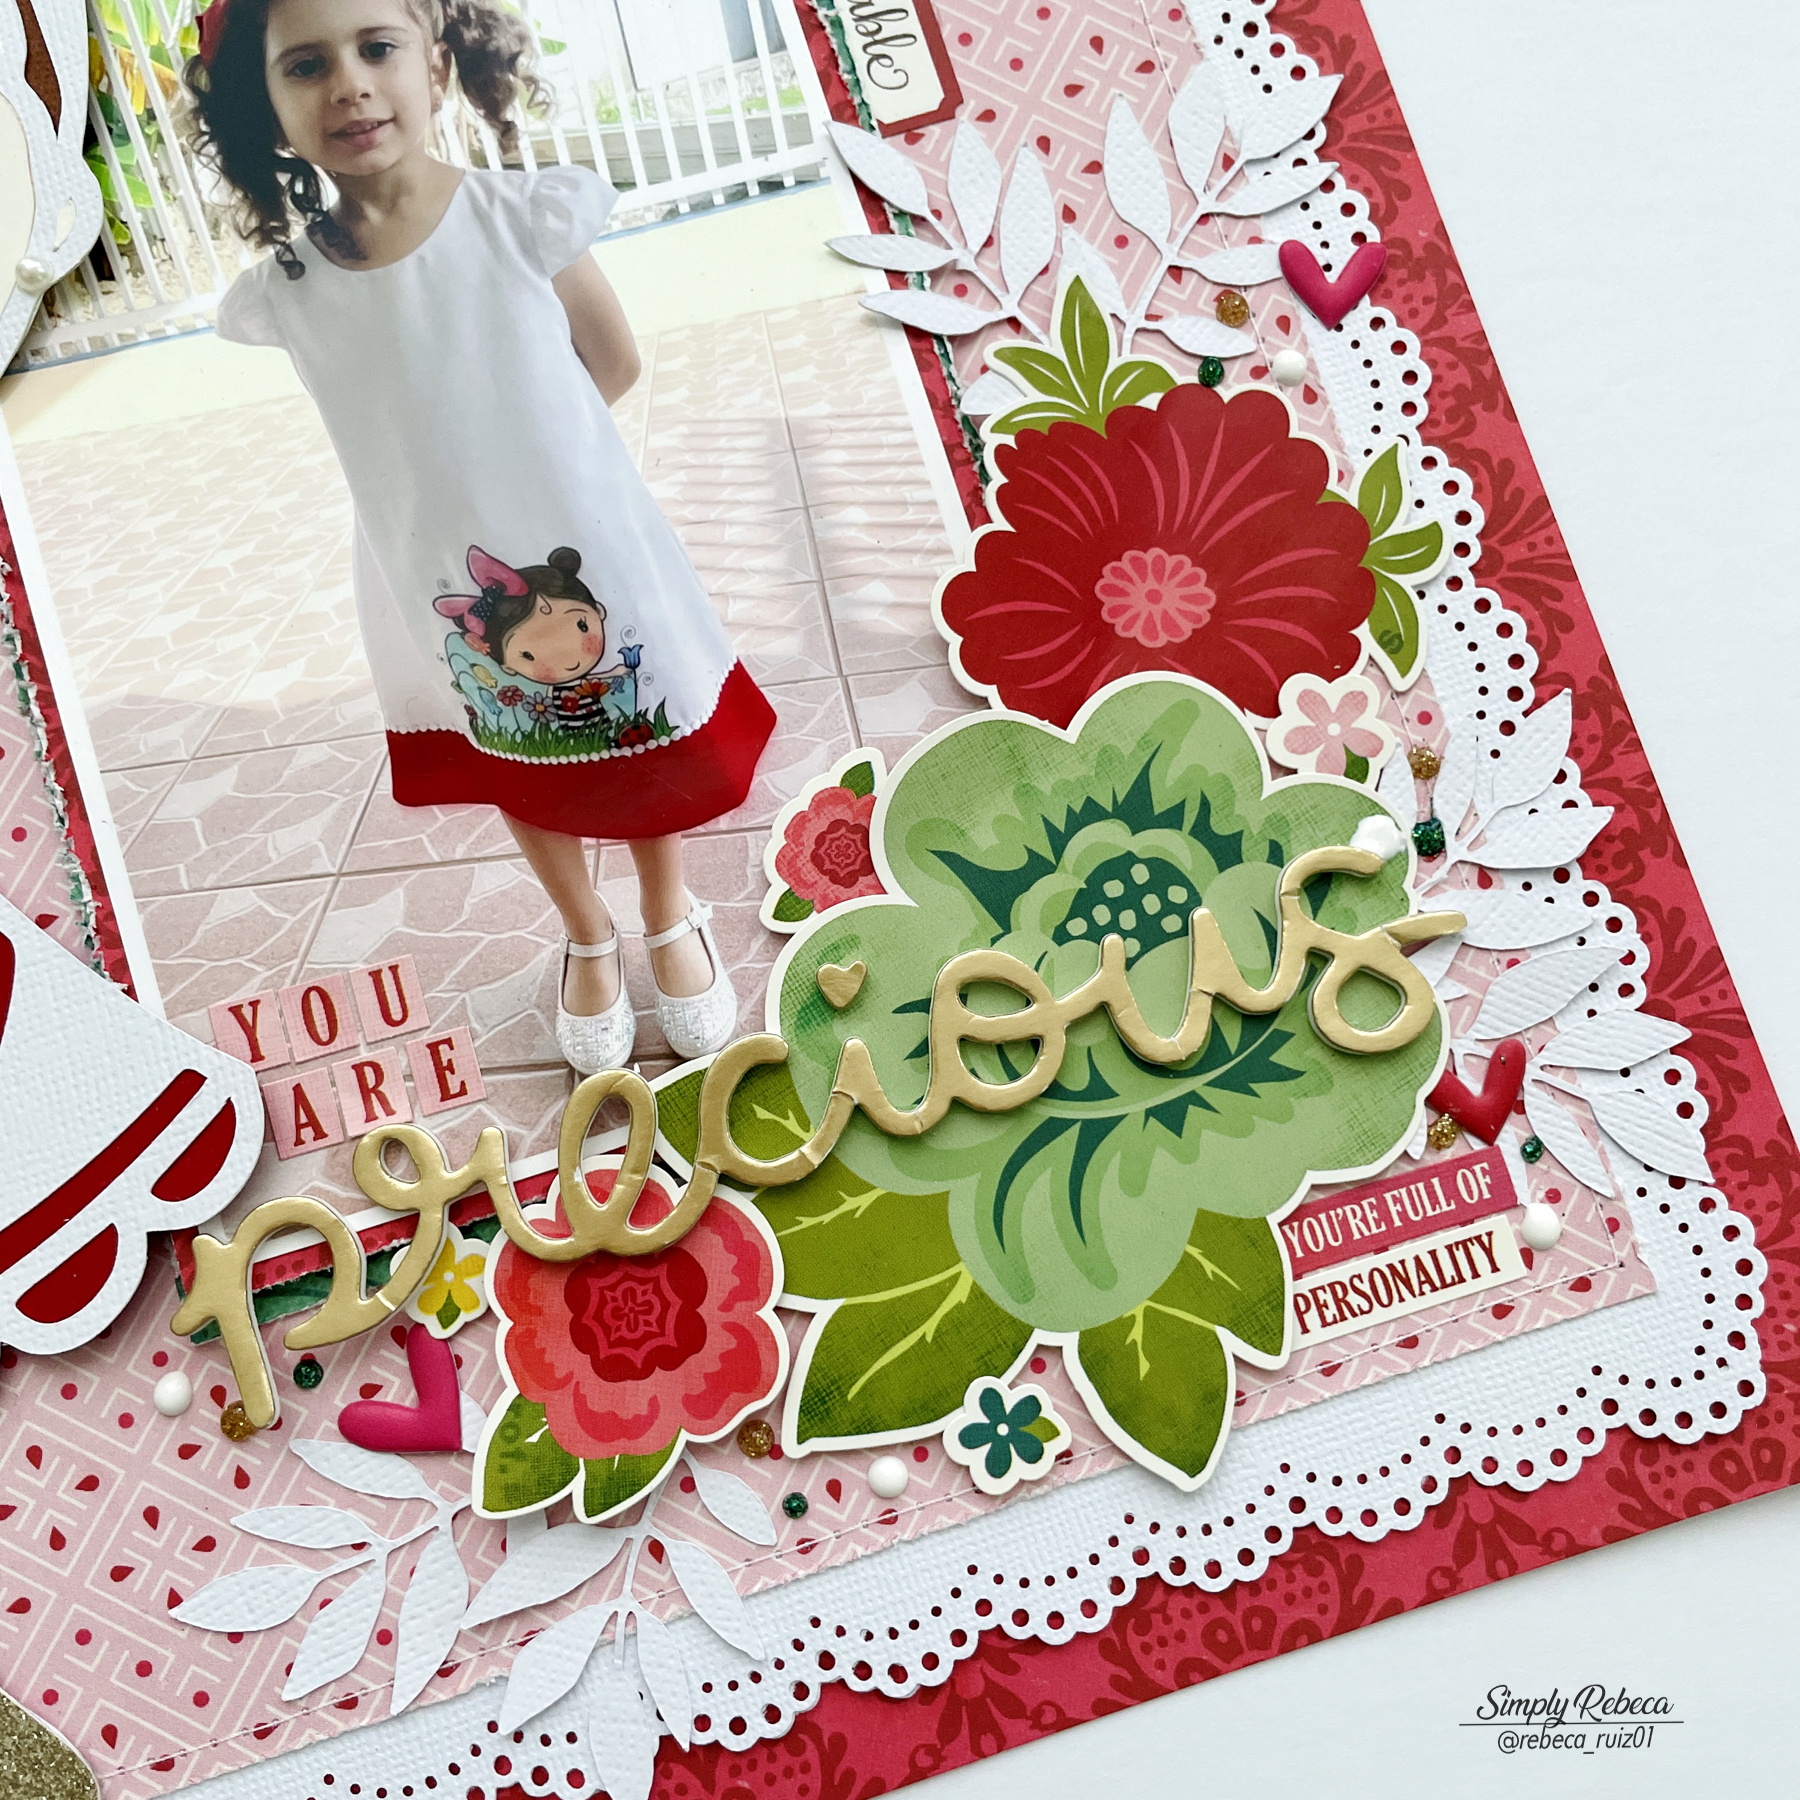
The final touches of the layout were the puffy stickers from Elle's Studio and the Nuvo Drops in Simply White, Honey Gold, and Emerald City.

Thanks for your visit and for staying with me during this long post. I hope you enjoy this project as much as I do and it inspires you to craft. Come back soon for more inspiration!


No comments