Hi!
Hope you are having a great Sunday! Today I'm in the blog to share with you my third layout for Alison's Davis class Sketches for 6" x 6" Paper Pads. As mentioned in my previous posts, I can't share the sketch with you since this is a paid class, but you can buy the class in their store: Scrapbook Generation. The class is great, and gives lots of ideas on using those paper pads we have in our stash for so long. At the end of this post, you can find the process video of how I made this layout.
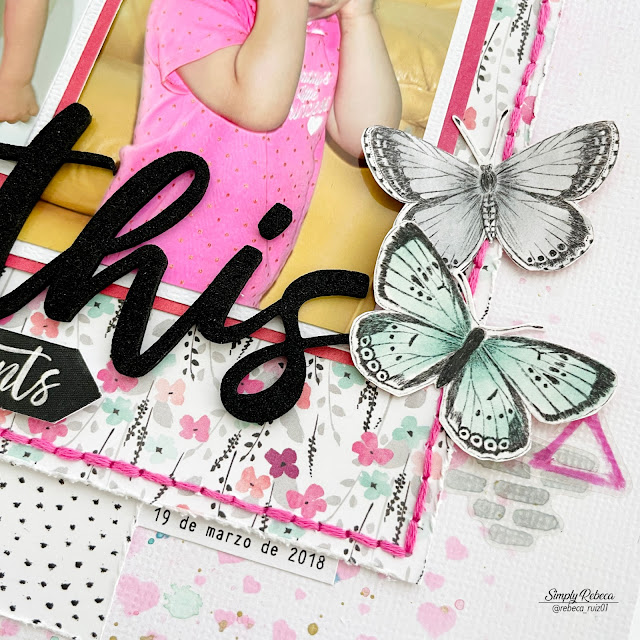
I used three photos for the layout, as in the sketch. I matted them using white cardstock and a piece of hot pink paper from the collection. The title is in foam and is also part of the collection. For the journaling, I printed it in white cardstock and cut it in thin stripes following the positioning of the sketch. Then, I added a few stickers in the title area; the black one with foam adhesive. To embellish the layout, I fussy cut a few butterflies from one of the 12" x 12" papers in the collection and added them to the page. I also used a few clear stickers to enhance the areas where the butterflies were added.
In the end, I cut two pieces of the blue stripes papers to 1" x 12" and removed a portion of the cardstock on the top and bottom with scissors. Then, I distressed the edges and added the striped papers. I love how this simple and nice touch changes the appearance of the layout, making it more artistic. Those edges were not part of the sketch, but I'm fine with that. For me, a sketch is an idea, but you interpret it however you want to make it work for your style and what you have.
Here is the process video for this layout. I hope you like and enjoy this page as much as I do! If this is the case, please, don't forget to give the video a like. This way I know making the videos is worth the effort.
Thanks for your visit!


No comments