
Hi!
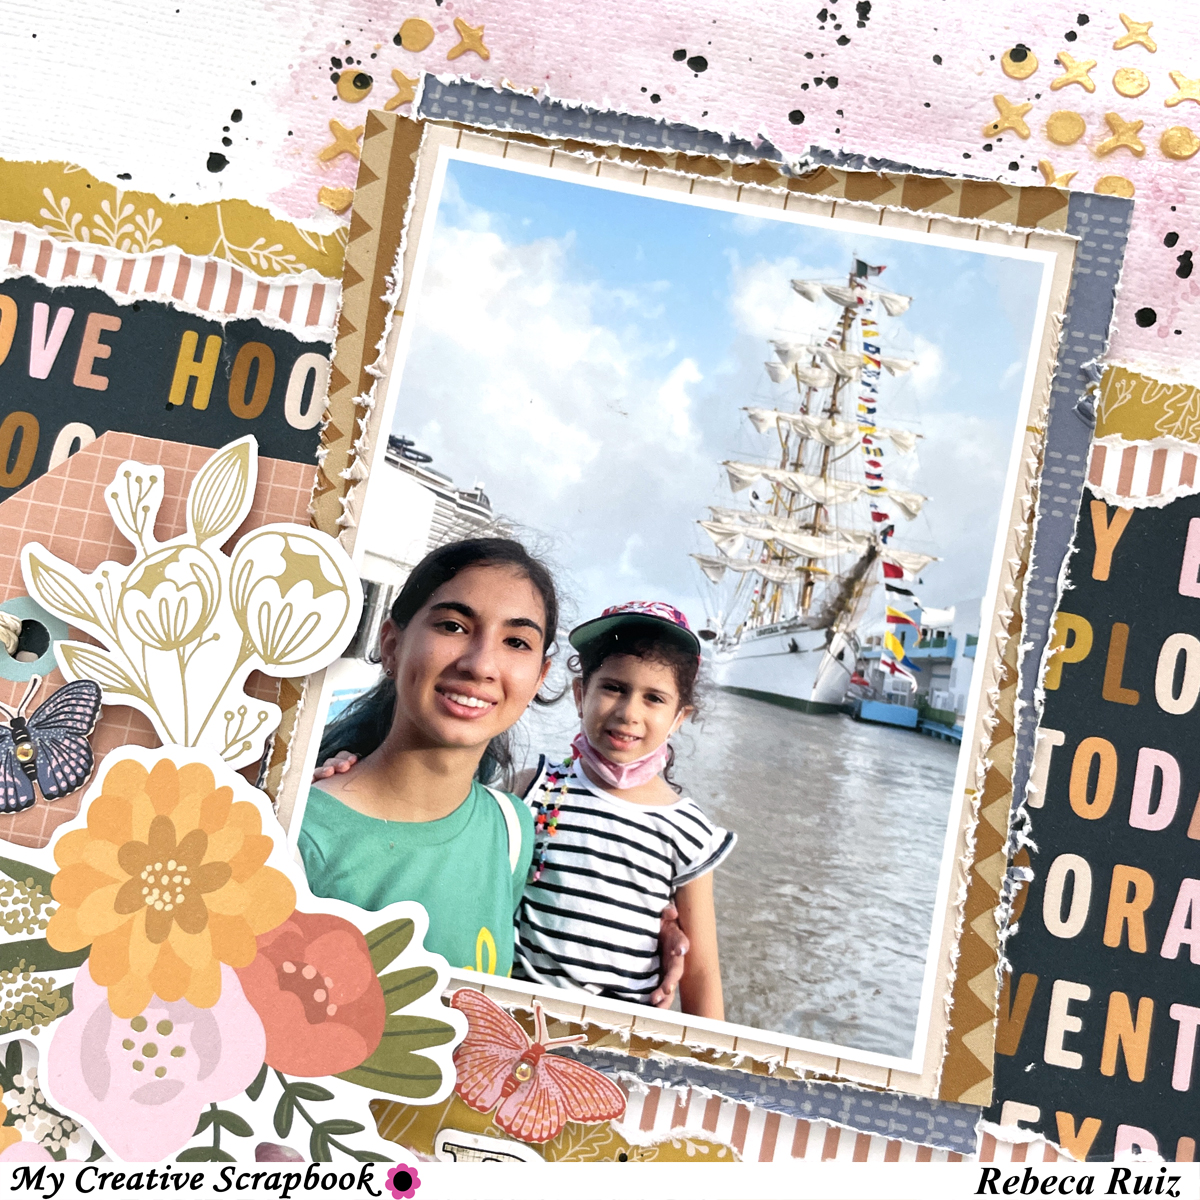
It's time to share a new layout using My Creative Scrapbook September Main Kit. This time I added a little bit of mixed media and lots of texture to create this beautiful page for my daughters. If you want to learn how I made this page, stay with me during this post and check the process video at the end.

I started this page by cutting the patterned papers in the center of the layout to create the background. The word paper was cut to 4 1/2" x 12". For the yellow paper and the pink stripes paper I cut two pieces of 1" x 12". Then, I tore one edge of the papers and glued them together. After that, I added pink paint to the layout and used the stencil and gold paste to add more texture and a nice detail that will help the layout pop. Also, I added paint splatters using the pink paint and black acrylic paint.

After adding the photo, I made a floral cluster on the corner and added a few fussy cut butterflies. Some of the die cuts were added with foam tape and the tag was cut from one of the papers.


I matted the photo using three different papers from the kit, a cream/beige, a brown, and a navy. I distressed their edges and glued them slightly tilted to add interest to the photo.
If you want to see me creating this beautiful layout, check the process video here:
Thanks for your visit and for staying with me during this post. I hope you like and enjoy this layout and it inspires you to craft!


No comments