Hi! Hope you are having a wonderful day! Today, I'm very happy to share with you this layout that I designed and was published on page 65 of the summer 2023 issue of Scrapbook and Cards Today Magazine. This magazine is amazing, with great articles and lots of inspiration. You can visit their website to download a free digital version or to subscribe to the printed version. Now, let's talk about the layout and see how I made it!

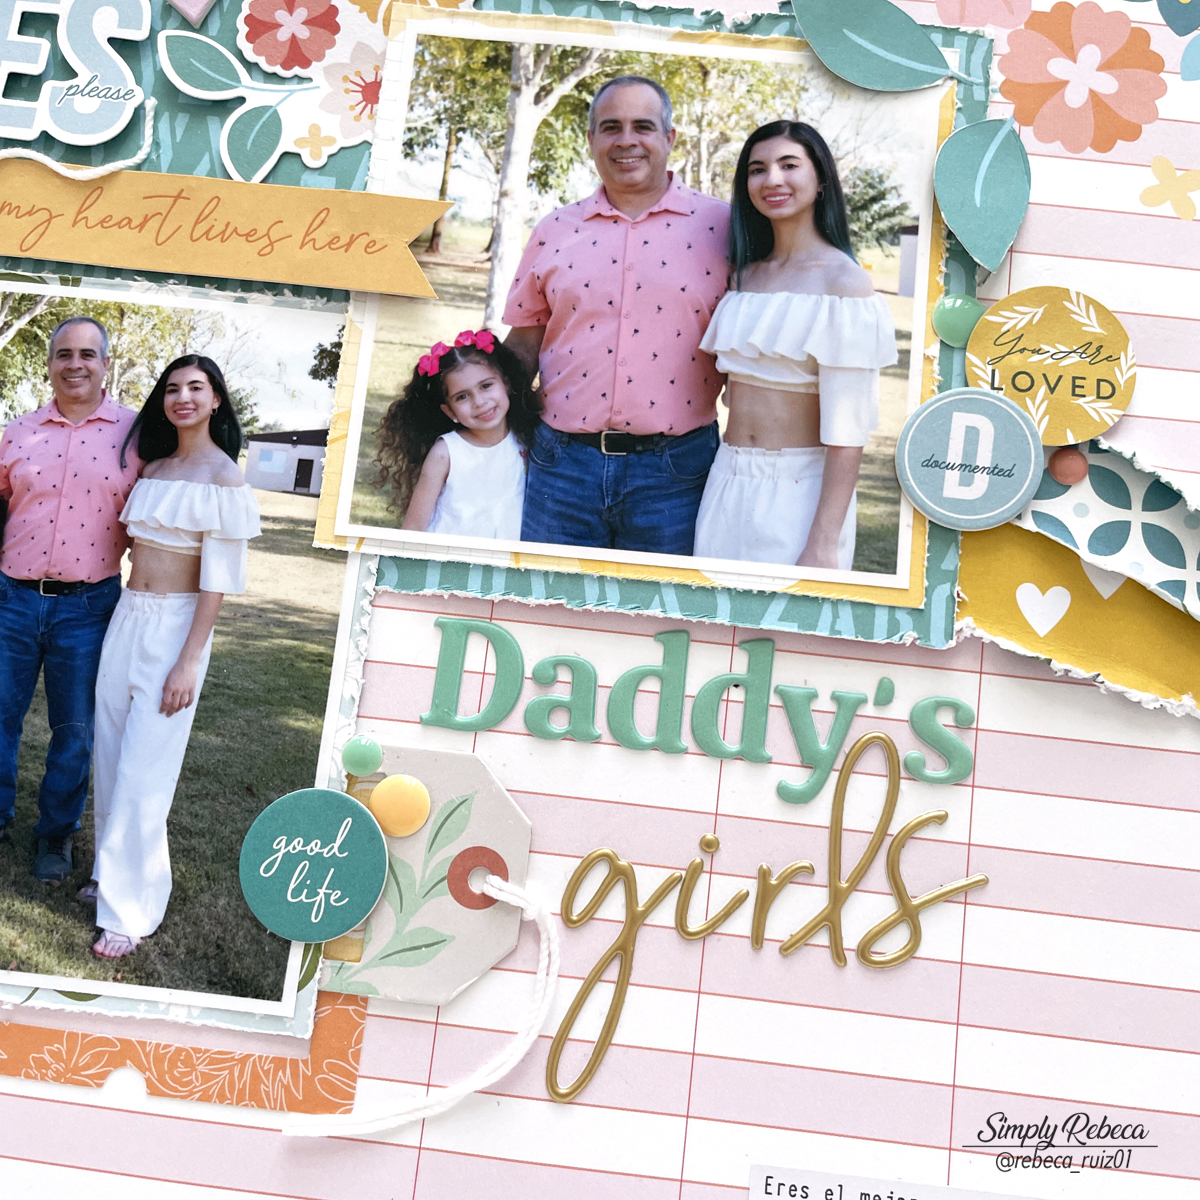
The products used in the layout are from Pinkfresh Studio, but they are from various collections like Some Days, Spring Vibes, Good Times, and others. I started the layout with the floral ledger paper, by tearing it diagonally near the middle, without damaging the flowers. Then I added two strips of patterned paper behind the top part of the ledger paper. Once those papers were ready, I tore the bottom part of the ledger paper a bit to make space for the two strips I added previously, then I glued them together. When doing this, you can use a full 12" x 12" paper behind for reference, to be sure it measures 12" x 12". If you don't want to cut the ledger paper, you can add the torn patterned papers on top of it.

On the center of the layout, I added the photos, matted with patterned papers. I distressed the edges of the papers for texture. With a precision knife, I cut around the flowers and leaves on the ledger paper to fit the photos behind them. For the title, I used foam letters in two different styles and colors to make it more interesting.
Then, I started to embellish the layout using different products like chipboard, die cuts, stickers, and enamel dots.
On top of one of the photos, I made a subtitle using a sticker with foam tape on the back, a banner with a piece of thick crochet thread, a chipboard arrow, and a floral sticker with foam tape behind some areas. Mixing products with different heights and textures is something I usually do in my projects. By doing it, I create dimension and textures that add interest to the layout.
Behind the photos, I tucked some embellishments to balance the page and to give the enamel dots and chipboard buttons a place to rest.
The journaling was printed in white cardstock, cut in thin strips, and added to the layout using liquid glue. Well friends, this is all for this layout. I hope you like it as much as I do, and it inspires you to craft!
Thanks for your visit and come back soon for more inspiration!


No comments