Hi! Disney is one of our favorite destinations for family vacations. We love visiting the parks and all the magic there so when I saw the new Say Cheese Magic collection by Simple Stories, I was super excited. This new addition to the Say Cheese line is M-A-G-I-C-A-L! All the papers are gorgeous and this time, they added a hint of pink to make them even prettier! Today, I'm very happy to share with you my first layout using the Say Cheese Magic collection. I tried to record the process video, but it is giving me an error and can't be seen. I'm so sorry about that but stay with me during this post and I'll be explaining how I created this layout.
After choosing my two photos, I decided to use a chipboard frame in the smaller one, then I started selecting the patterned papers. It was hard to select only two or three papers because they are so beautiful, so I used eight different designs from the collection.
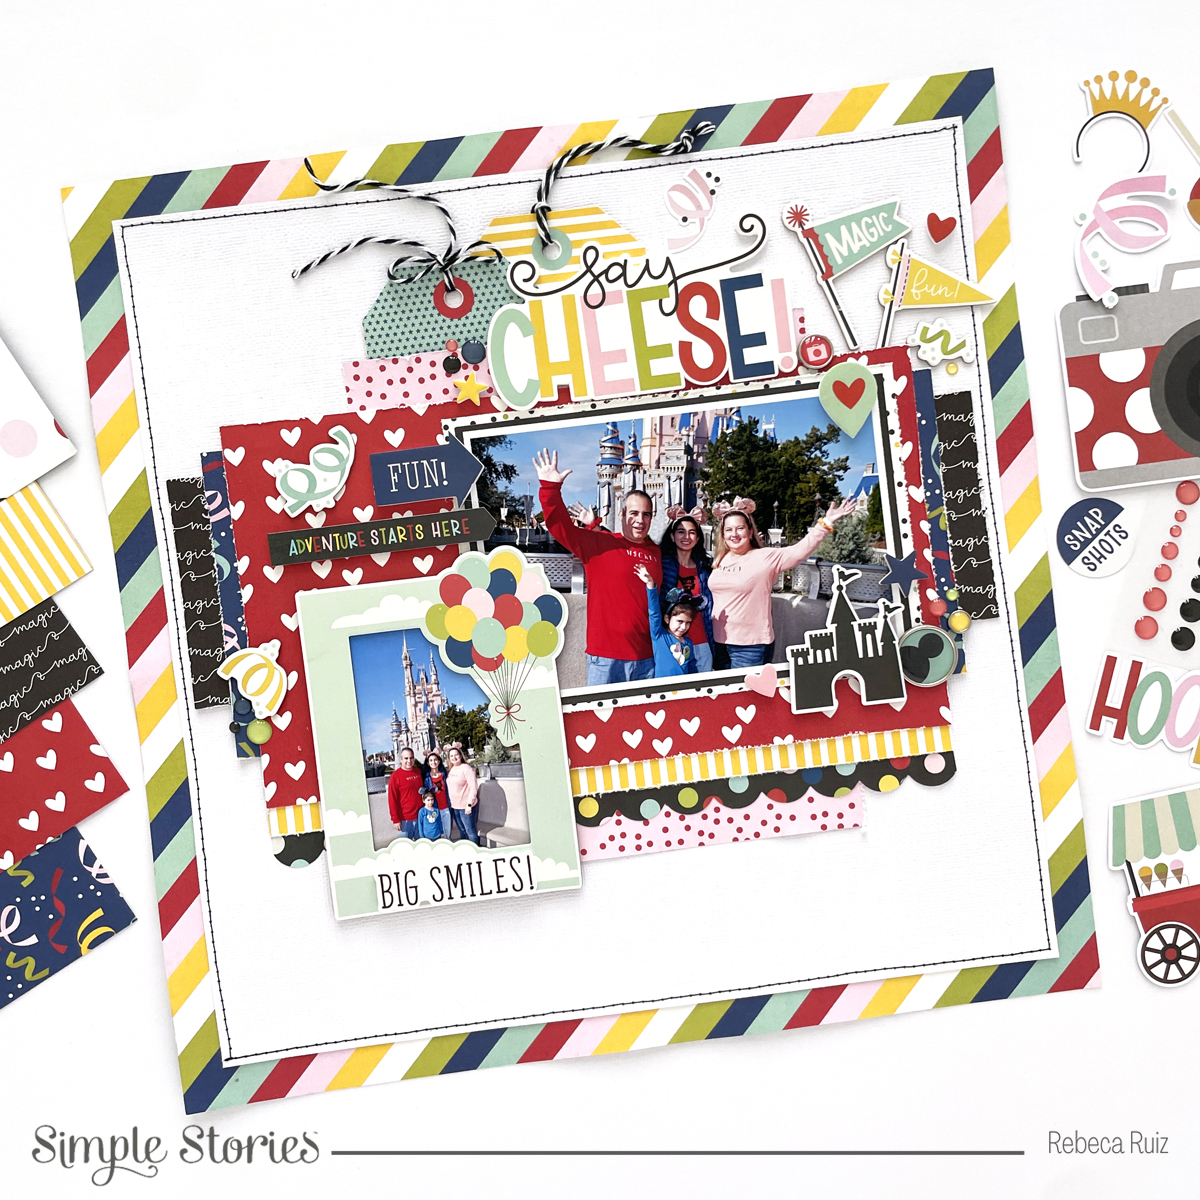
For the base, I used a white cardstock to add all the different patterned papers in a balanced way. I reduced the white cardstock to 11" x 11" and glued it above the striped paper. To make the layout look better I stitched a black border around it. Then, I matted the big photo using two papers from the 6" x 8" pad. One is the black paper, and the other is the white paper with small dots. After that, I started adding the different patterned papers. I started with the red paper with hearts, on the side I added the navy paper and the black paper. On the bottom area, I added a piece of the yellow striped paper, and a scalloped border sticker. The last piece was the pink with red dots paper which I added to the top and on the bottom.
To balance the layout, I added the yellow striped tag and the blue/mint tag on the top area to have a bit more of those colors in the layout. Then, using black twine, I embellished the tags and added a bit more of that color to the layout. After that, I was able to start embellishing the page. First, I added the title, then the other details like flags, location pin, confetti, stars, hearts, arrow, decorative brads, and enamel dots. I mixed elements from different products like foam stickers, chipboard stickers, and paper stickers to create interest and to have different textures.
On the right corner of the big photo, I added a castle sticker, a heart, a star, two decorative brads, and two enamel dots. Just a little cluster to balance the layout.
I distressed the edges of the patterned papers before adding them to the layout, this small detail also, add interest and texture to the page. In the photo below, you can see the different patterned papers used how I enhanced the title with the cluster.
For a last detail, I added a few confetti chipboards on the left side of the photos and enamel dots near the small photo. Finally, on top of the chipboard frame, I added the "Big Smiles!" foam phrase.
This was a fun layout to make. I enjoy creating it and mixing all the papers to document those family photos near the castle in Magic Kingdom using the gorgeous "Say Cheese" magic collection. If you are a Disney fan, you are going to love this collection, so visit your favorite store to shop it! Thank you so much for your visit, I hope you like this layout as much as I do, and that it inspires you to craft! Come back soon for more inspiration, since Simple Stories released a lot of new collections on the "Say Cheese" line, and I'll be working with them.


No comments