
Hello! In my previous post I mentioned a second layout I created with the beautiful Say Cheese Classic Mouse collection by Simple Stories, and today I'm sharing it with you. It's a very fun and colorful layout I made for my daughter, to document that special moment of her meeting Mickey in his magician clothes. With this layout, I want to showcase her happiness, and this is the perfect collection for that. I used a lot of different patterned papers from the collection to create the rays on the background and to mat the photo and I love how they look on the page. While doing the layout, I recorded the process, and you can find the video at the end of this post.
To create the rays, I used patterned papers with small designs. I arranged them on the left side of the page and left a little gap in between the pieces to make a visual separation in between the patterns and colors. For texture, I distressed the edges of all the papers and stitched a black border on each of them.


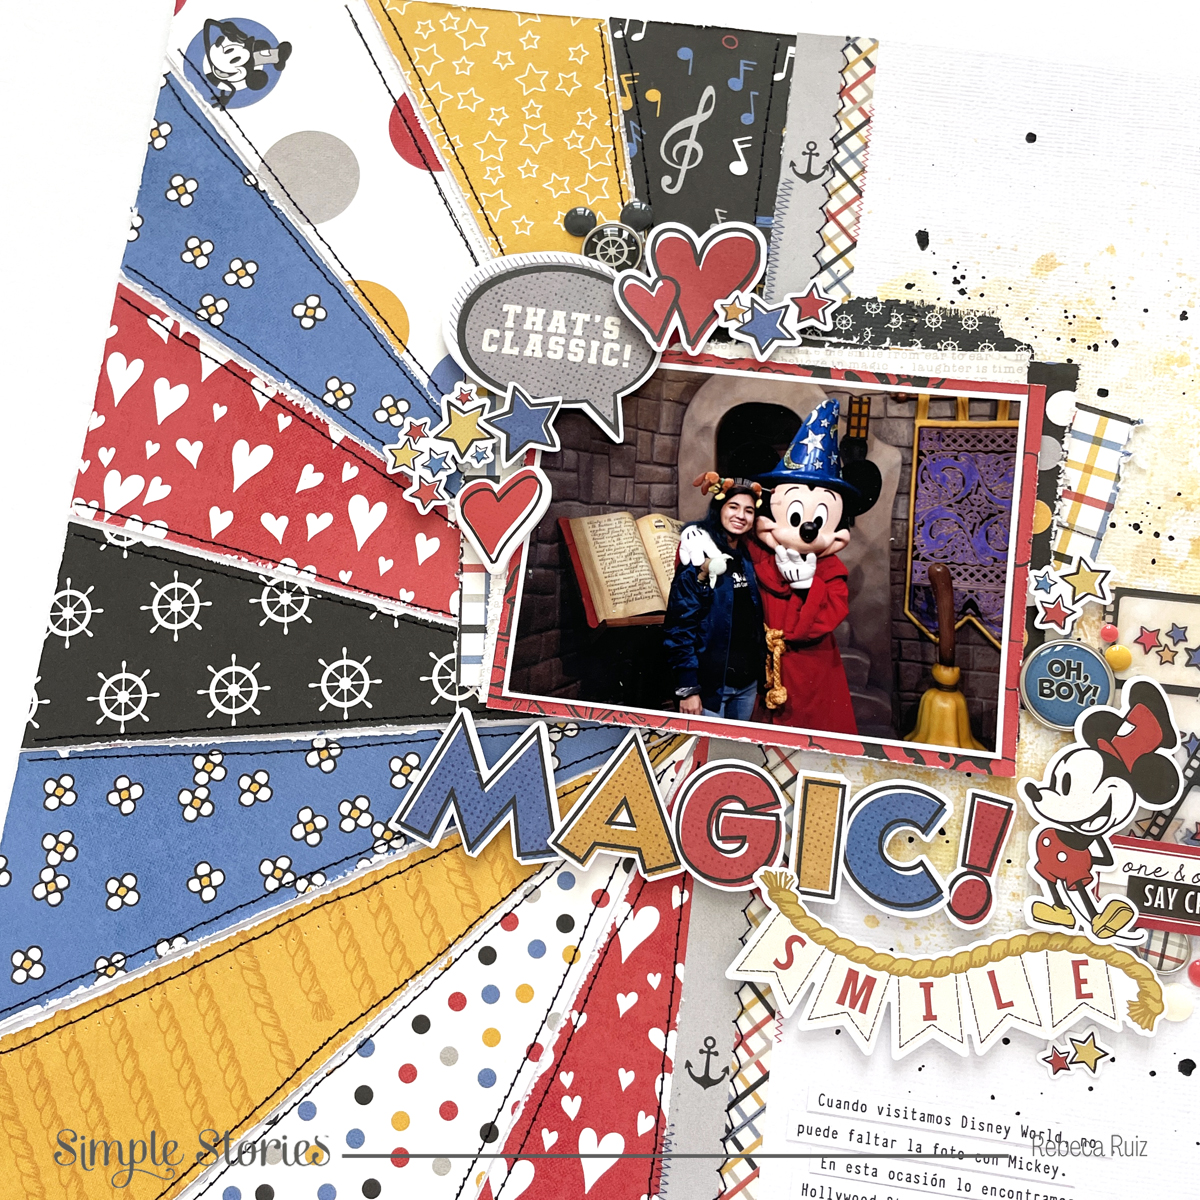

On the right side of the title I added a bit of color by using yellow ink and black splatters and created a little cluster of embellishments. For that, I transferred the filmstrip rub-on to a piece of translucent vellum and cut around it. I placed them with some angle and to cover the gap in the bottom, I placed a red label on top of them. Then, I added the die cut Mickey and the sticker phrases. Around the layout I added a few stars from the stickers and die cuts and some decorative brads and enamel dots too.

If you want to learn a little more about this layout, you can watch the process video below.
This is the finished layout. I loved working with this collection and creating this page. It looks so happy and fun that I love it! Take a closer look into the page to see if you can find the hidden Mickey!


No comments